Quick start
Rootline supports payment acceptance for any account in your ecosystem. In the Quick start we will explain how to:
- Create a payment to your platform account;
- Create a split payment to a seller in your ecosystem;
- Charge fees on payments.
Create a payment to your platform account
To help you in setting this up, we have prepared a Create Payment curl command. Simply copy the command, change the below variables, and complete your first payment:
-
the
account_id: use your Platform account for this payment. You can find your accounts by logging into the dashboard. Go to the Accounts page in the dashboard to find theaccount_id's belonging to each of these accounts; -
the API key in the http header:
x-api-key. Learn how to retrieve your API key from the dashboard in the next page; -
any other variable can be changed or added.
Reading the response
The response returns a payment_id, which is the unique identifier for this payment. The example above yields a /checkout url, which you use to redirect your customer to the Rootline Checkout. Find more detailed information about checkout URL's here.
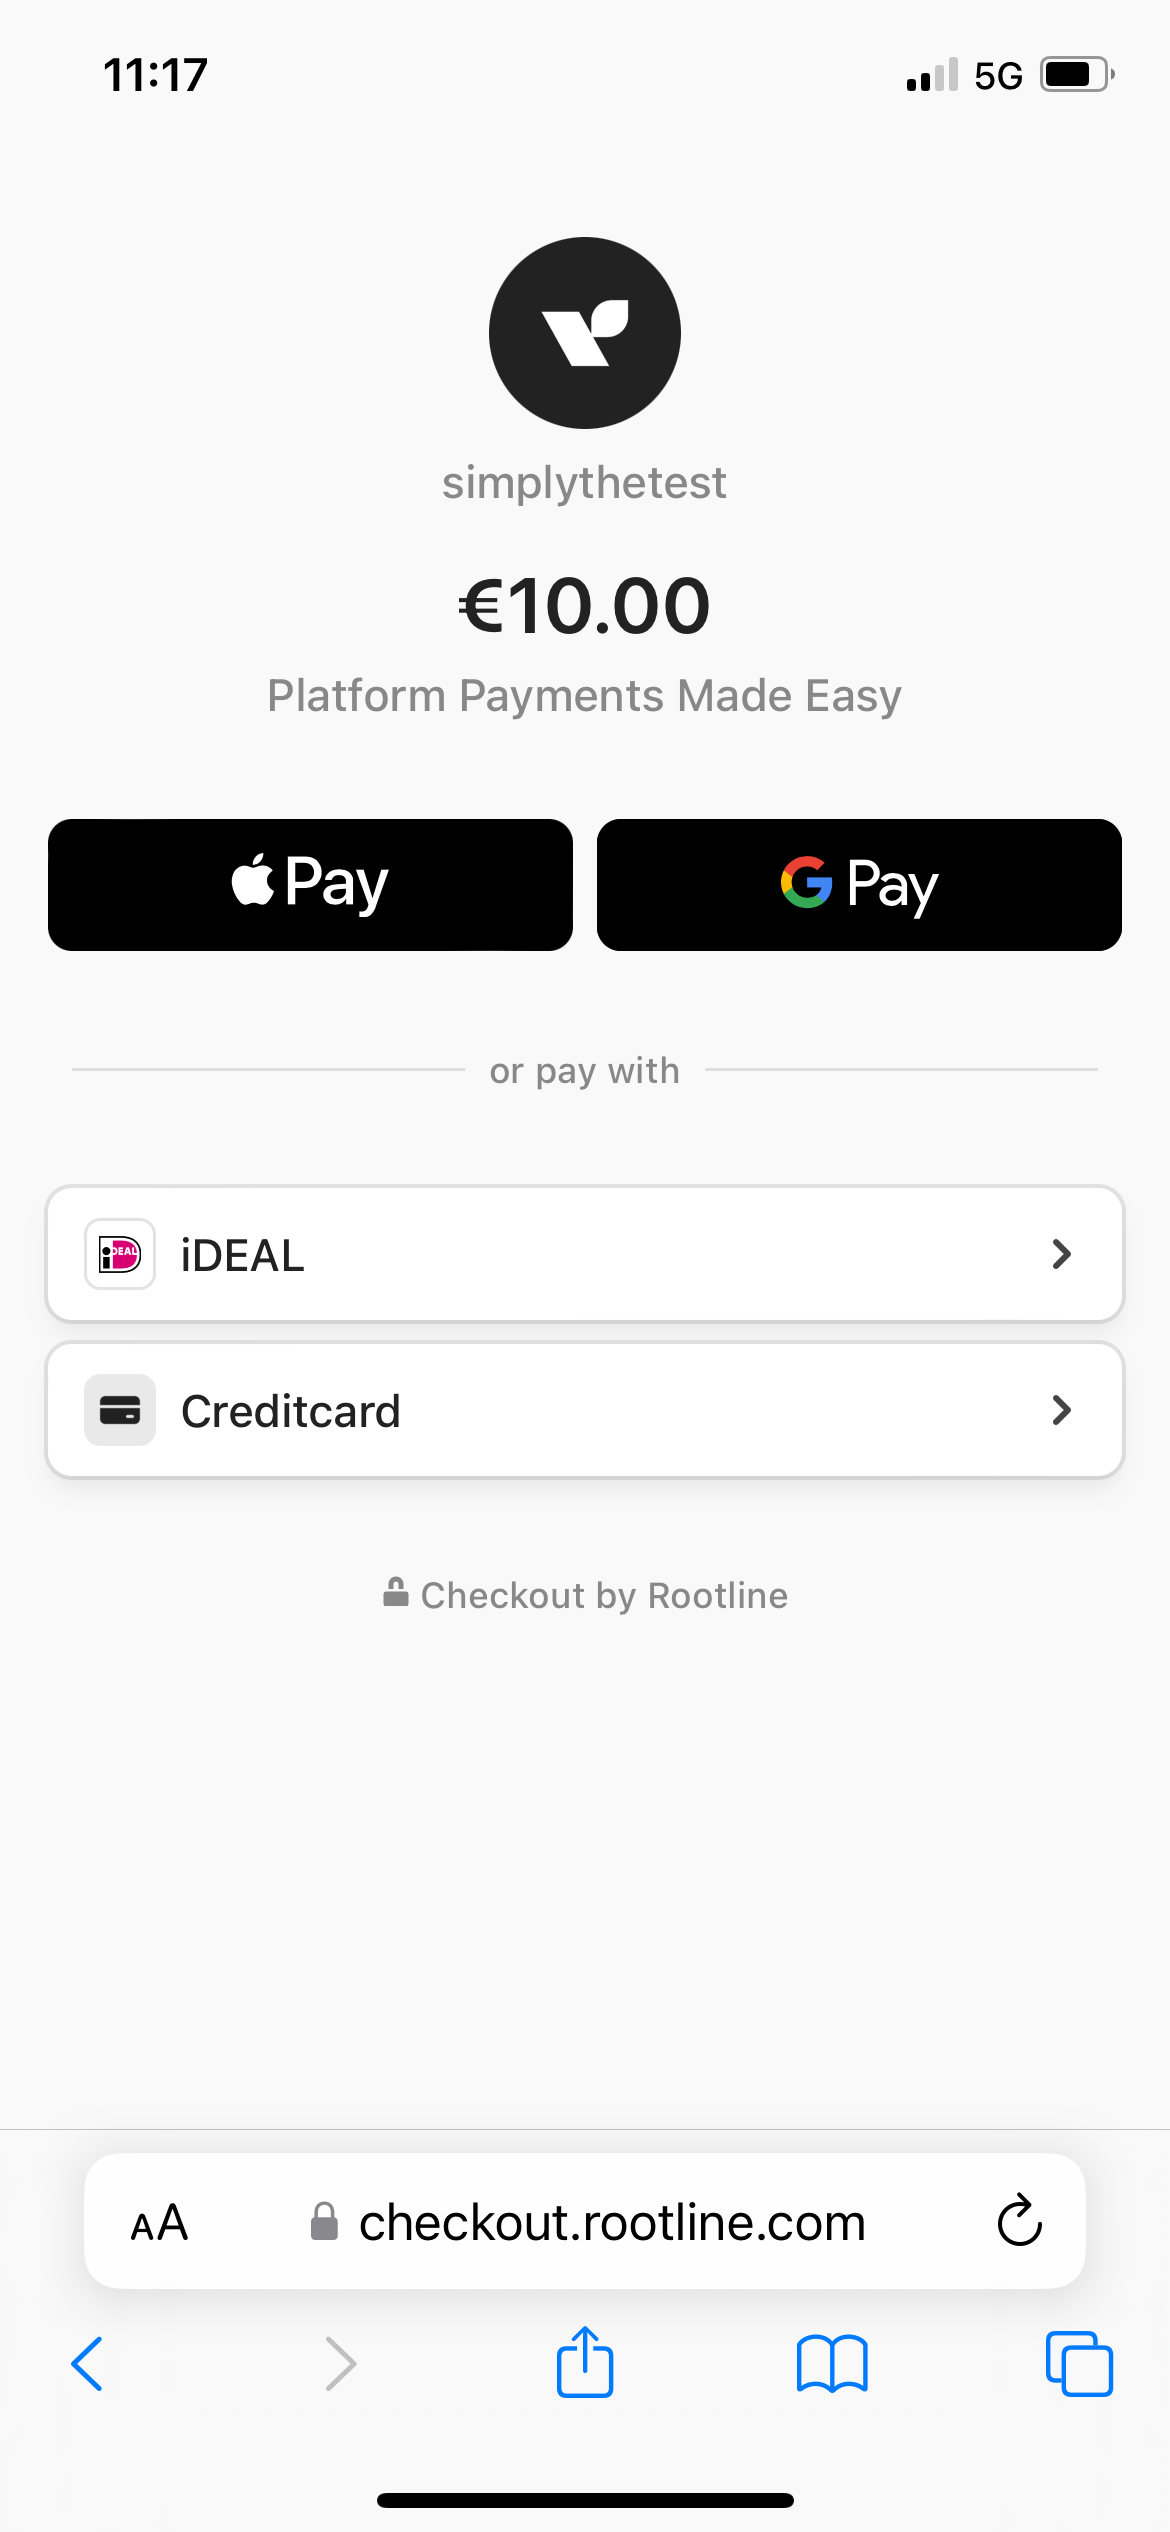
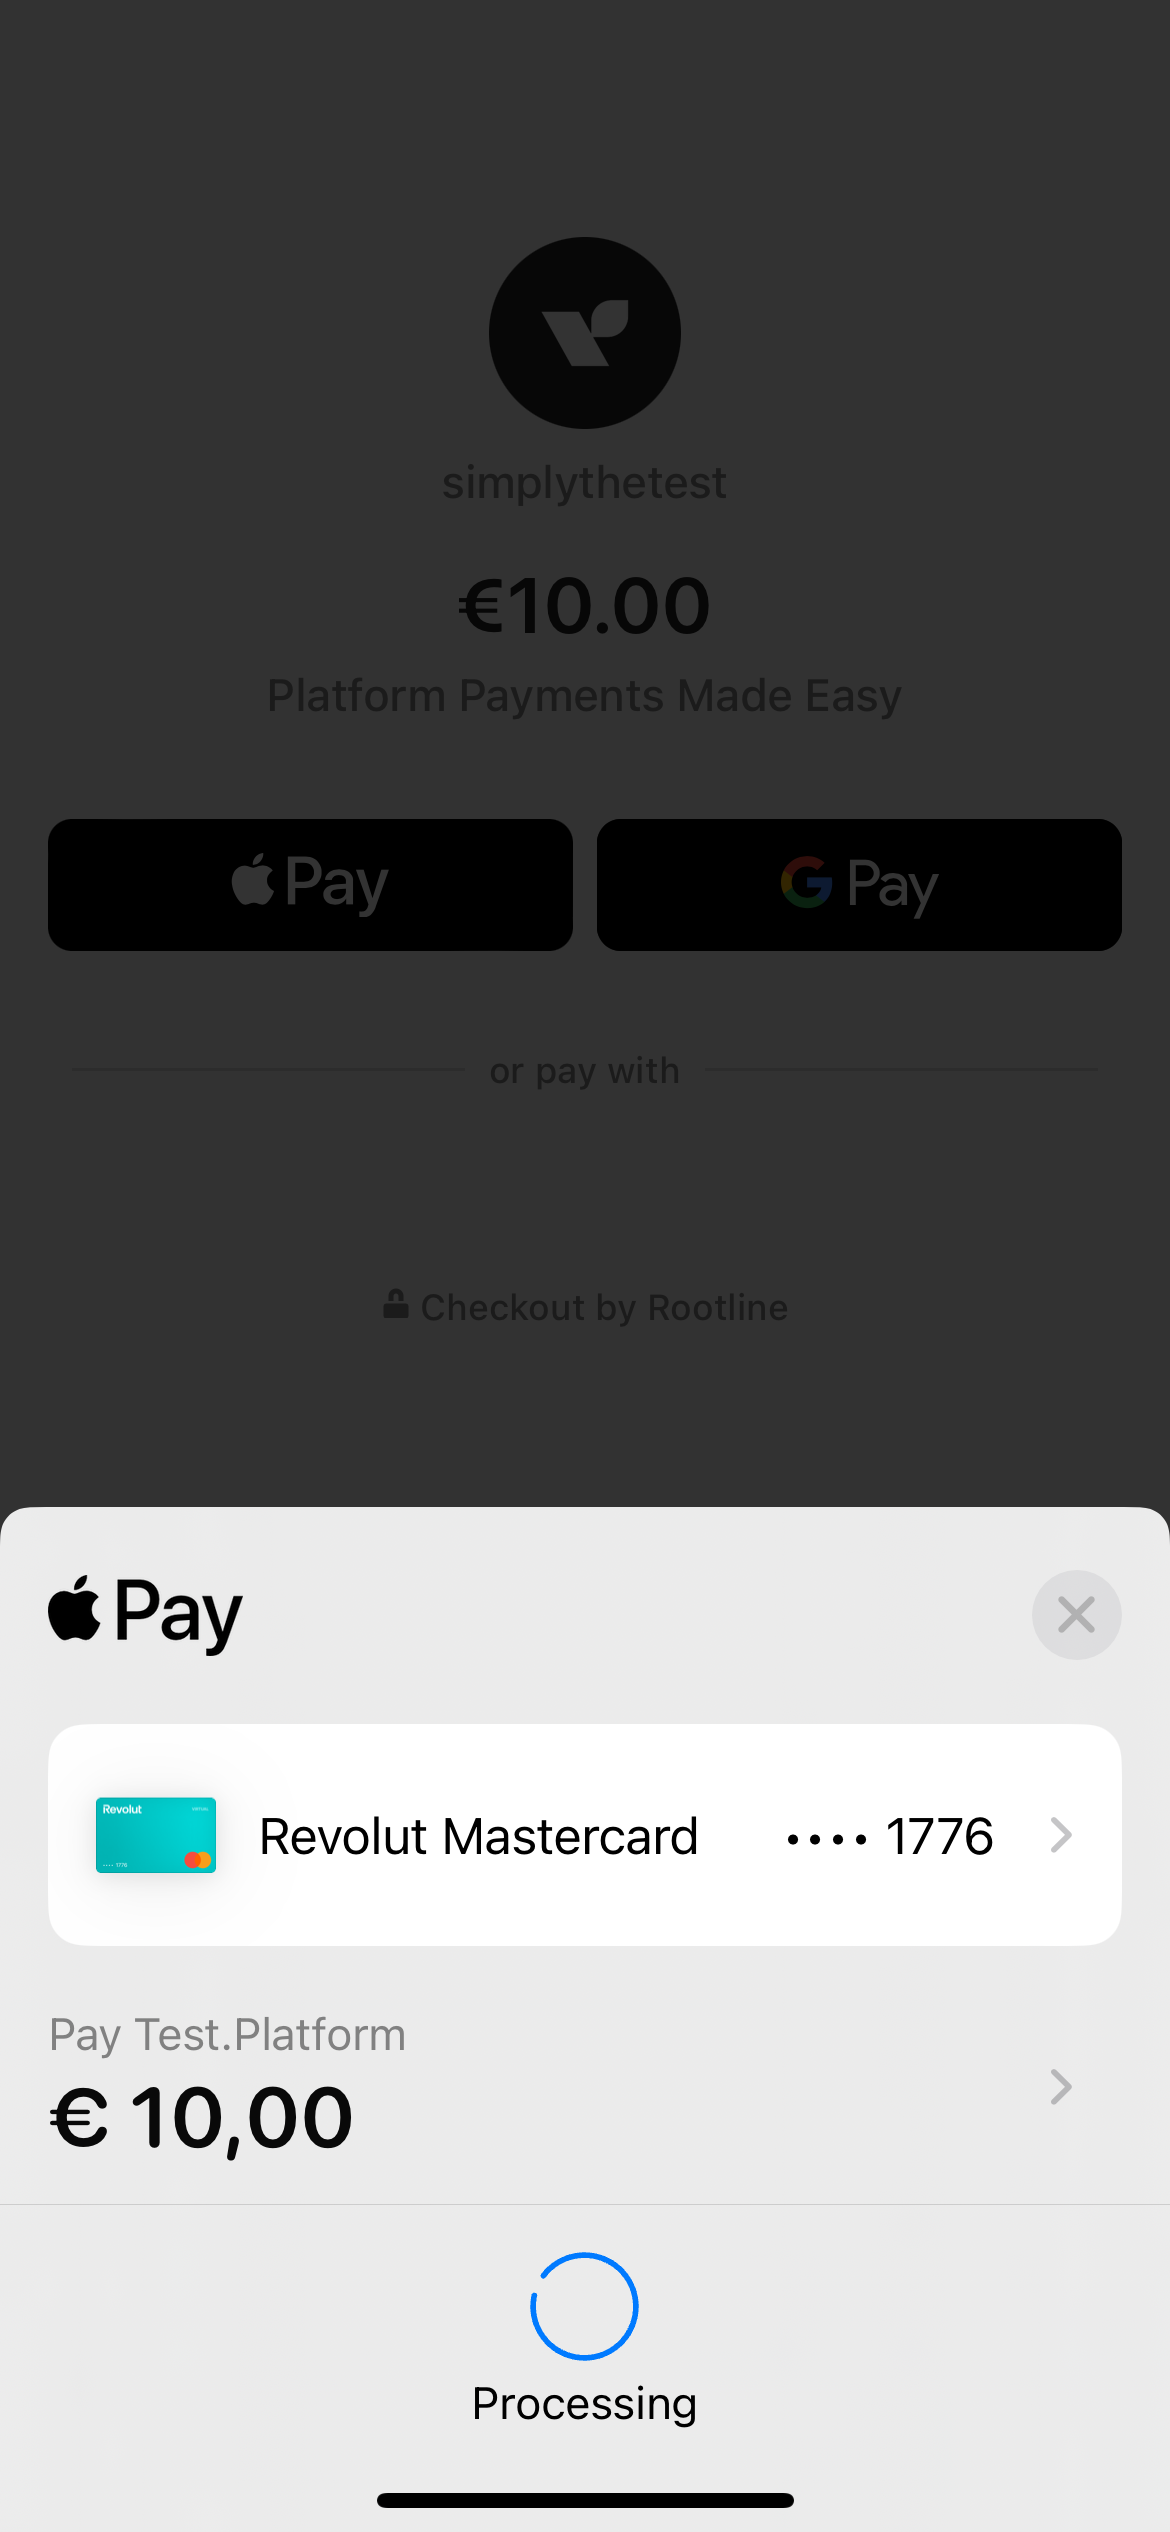
A Checkout example
After you have redirected your customer, they may choose any payment method they like to complete the payment. Below we use Apple Pay as an example.
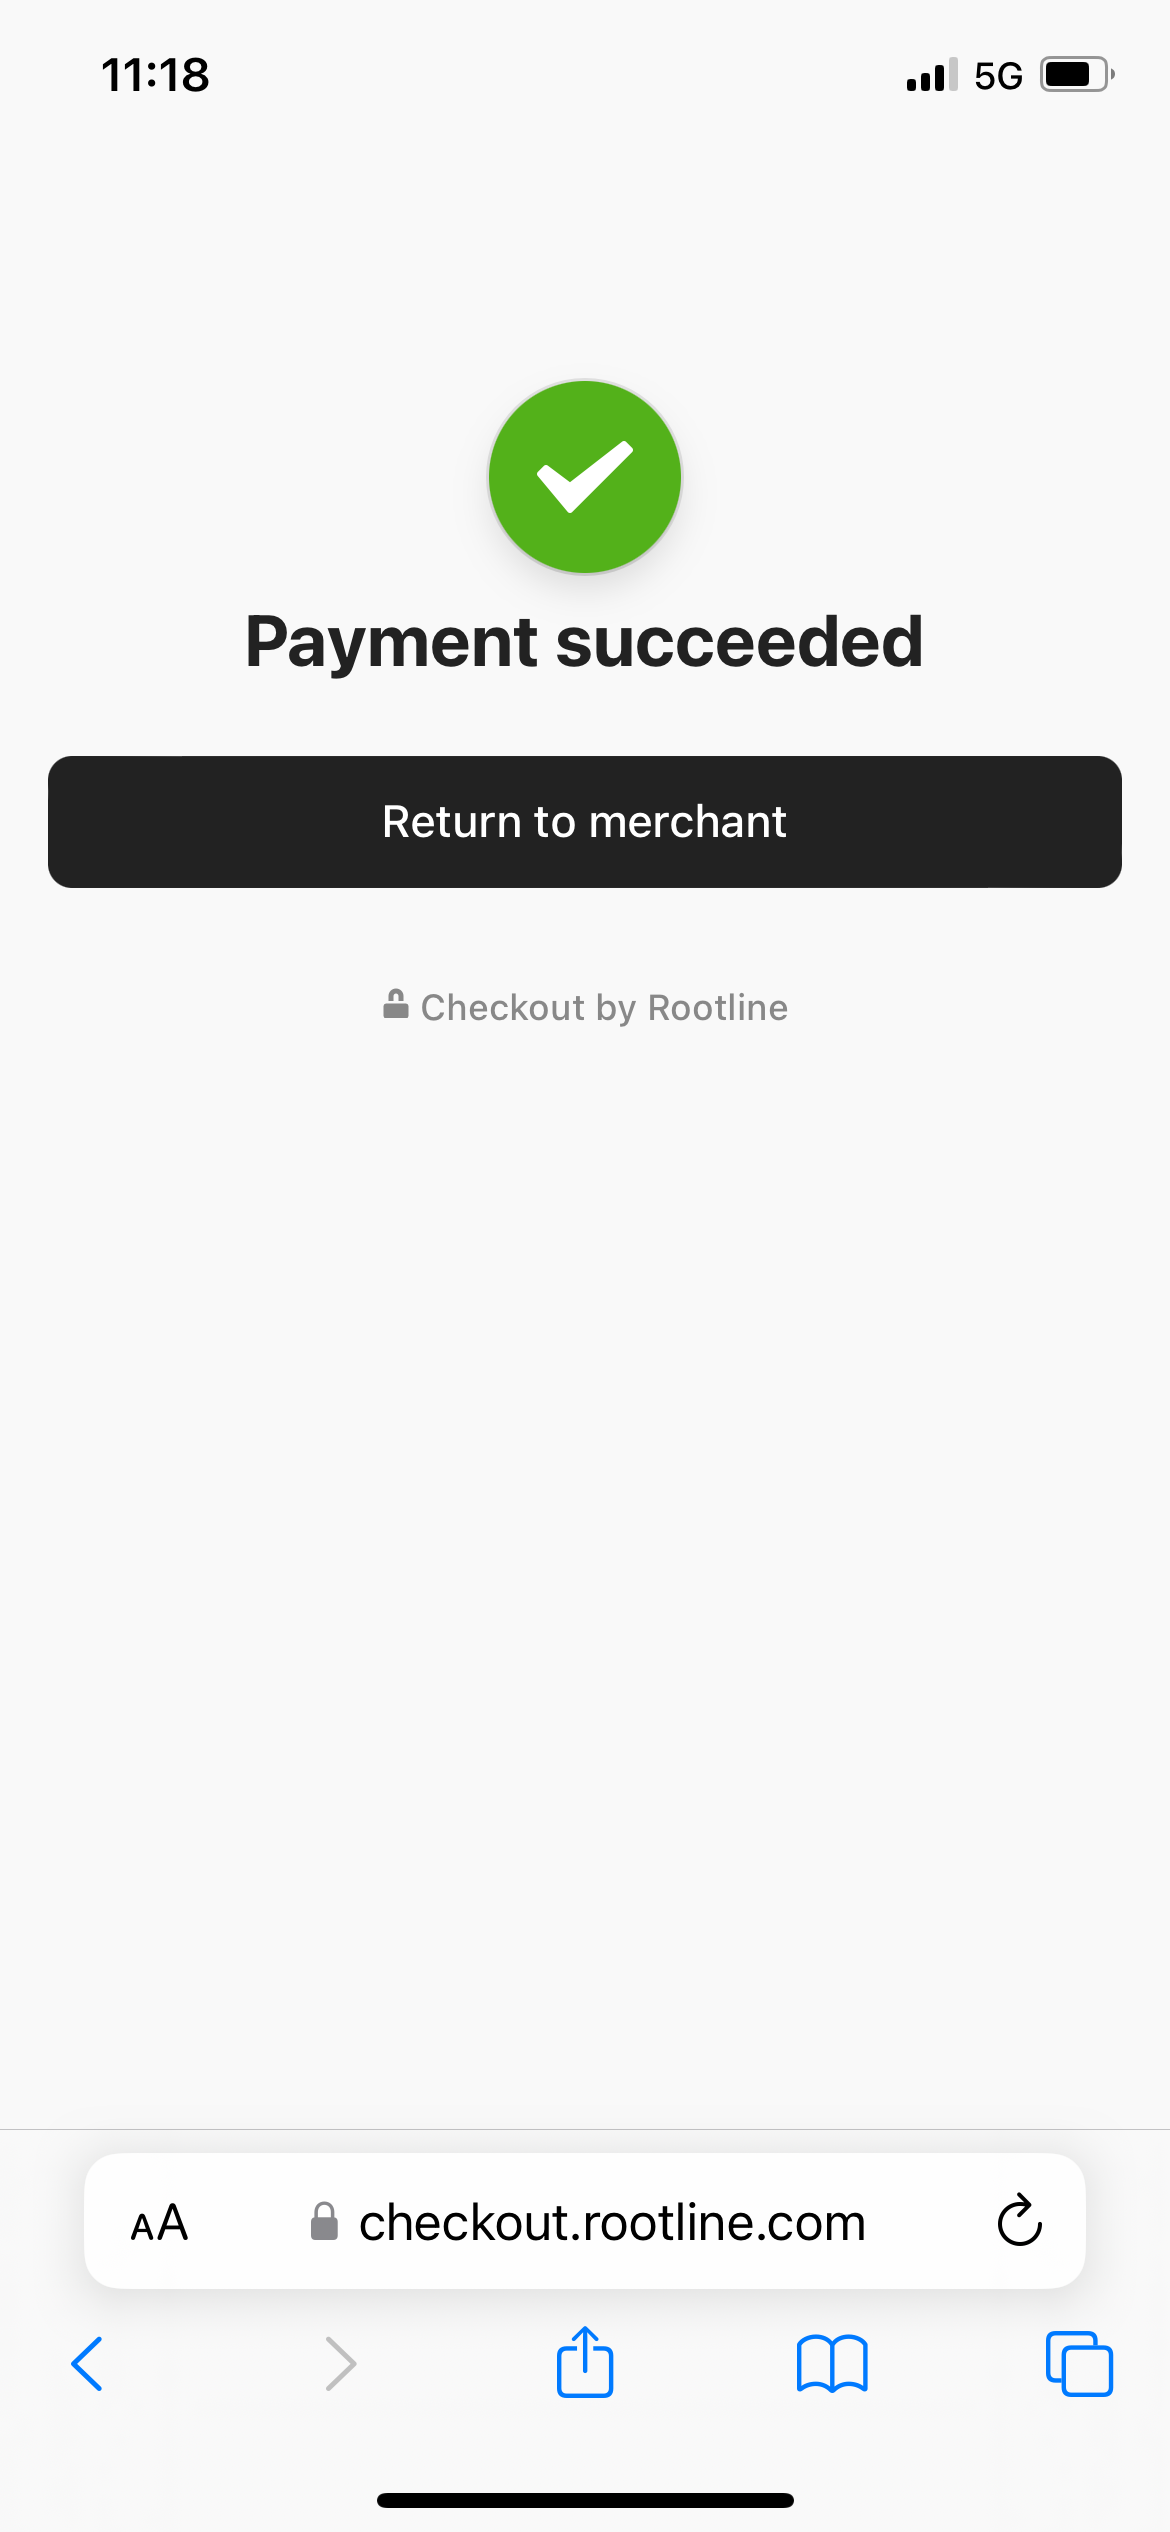
Handle the outcome of the payment
In the Checkout example presented above, the customer receives a payment confirmation within the Rootline Checkout. While this approach works, a more seamless and branded user experience can be achieved by redirecting the customer back to your website after completing the payment. To implement this, use the return_url parameter in the Create Payment request. This URL should point to a page on your website where you wish to display the final payment status.
Once the customer is redirected to your website, you can confirm the final status of the payment by making a GET request on the Payment. Use the response to determine and display the appropriate message to your customer. This approach provides a seamless post-payment experience, and gives you full control over your checkout flow.
We recommend using our webhooks to update your systems about the latest payment statuses. The GET /payments should solely be used for Checkout interaction, including showing the final result to the customer.
Create a split payment to a seller
The Rootline Payments API sets platforms up for automatically splitting and routing payments to any account in your ecosystem.
To make a payment to one or multiple sellers, add the splits array to the payment request and specify the amounts and the account(s) you want the payment to go to.
- The
splitsarray is an extension of the Payment request, and serves as a routing instruction for crediting the funds to the designated accounts; - The top-level
account_idremains to be your own platform account'sid; - Split the full or a partial payment amount to one or multiple account(s);
- Any amount that is not split will be credited to your platform account.
Every split payment is treated by Rootline as a payment, each with their own payment_id. This allows you to interact with each payment individually for refunds, payment updates and other operations.
- To complete the payment, follow the steps described here;
- Additionally, retrieve the
payment_id(s) from the split(s) and store them if you wish to make financial operations easy.
Charge fees on payments
Rootline is purpose-built for platforms. One of our core capabilities is enabling platforms to implement and scale their monetization strategy effortlessly. We offer low-integration tools to earn revenue and charge fees on payments through our API's.
- To each split in the payment request a list of
feescan be added; - The fees will be deducted from the account the split payment is routed to;
- Fees are credited to the parent payment of the split, usually your platform account;
- The default fee type is
platform_fee; - Each fee comes with its own
fee_id. Thefee_idallows you to update the fee later; - Fees are credited to the account holding the split instruction, and debited from the account in the split instruction.
At this moment it is only possible to charge a flat rate.
In this example a customer pays € 10.00. The full payment is routed to the account of the hotel. As a Platform you charge a flat fee of € 0.50 on the transaction. Rootline returns the fee_id as well as the fee_type.
Fees can be provided after the POST /payments. For instance, if your platform fee is dependent on the output and outcome of the payment request, which is very common for card payments, you can use the PATCH /payments/{id} to provide the fees after payment authorization. More on this in Update fees.